
This is one of those recipes that feels like opening a time capsule. If you grew up eating date nut bread from the grocery store bakery, especially the classic Neuman’s loaf, you probably remember it being dark, dense, gently sweet, and always served one very specific way. Thinly sliced with plain cream cheese spread generously on top. No exceptions.
My mom used to buy this bread when I was very young, and somewhere along the way it quietly disappeared. You never see it in stores anymore, and you definitely do not see it online. Every modern version I came across leaned chunky, rustic, and more like a traditional quick bread, which is not what this was. The original loaf was smooth, tight-crumbed, and deeply flavored, with the dates doing most of the work rather than standing out in pieces.
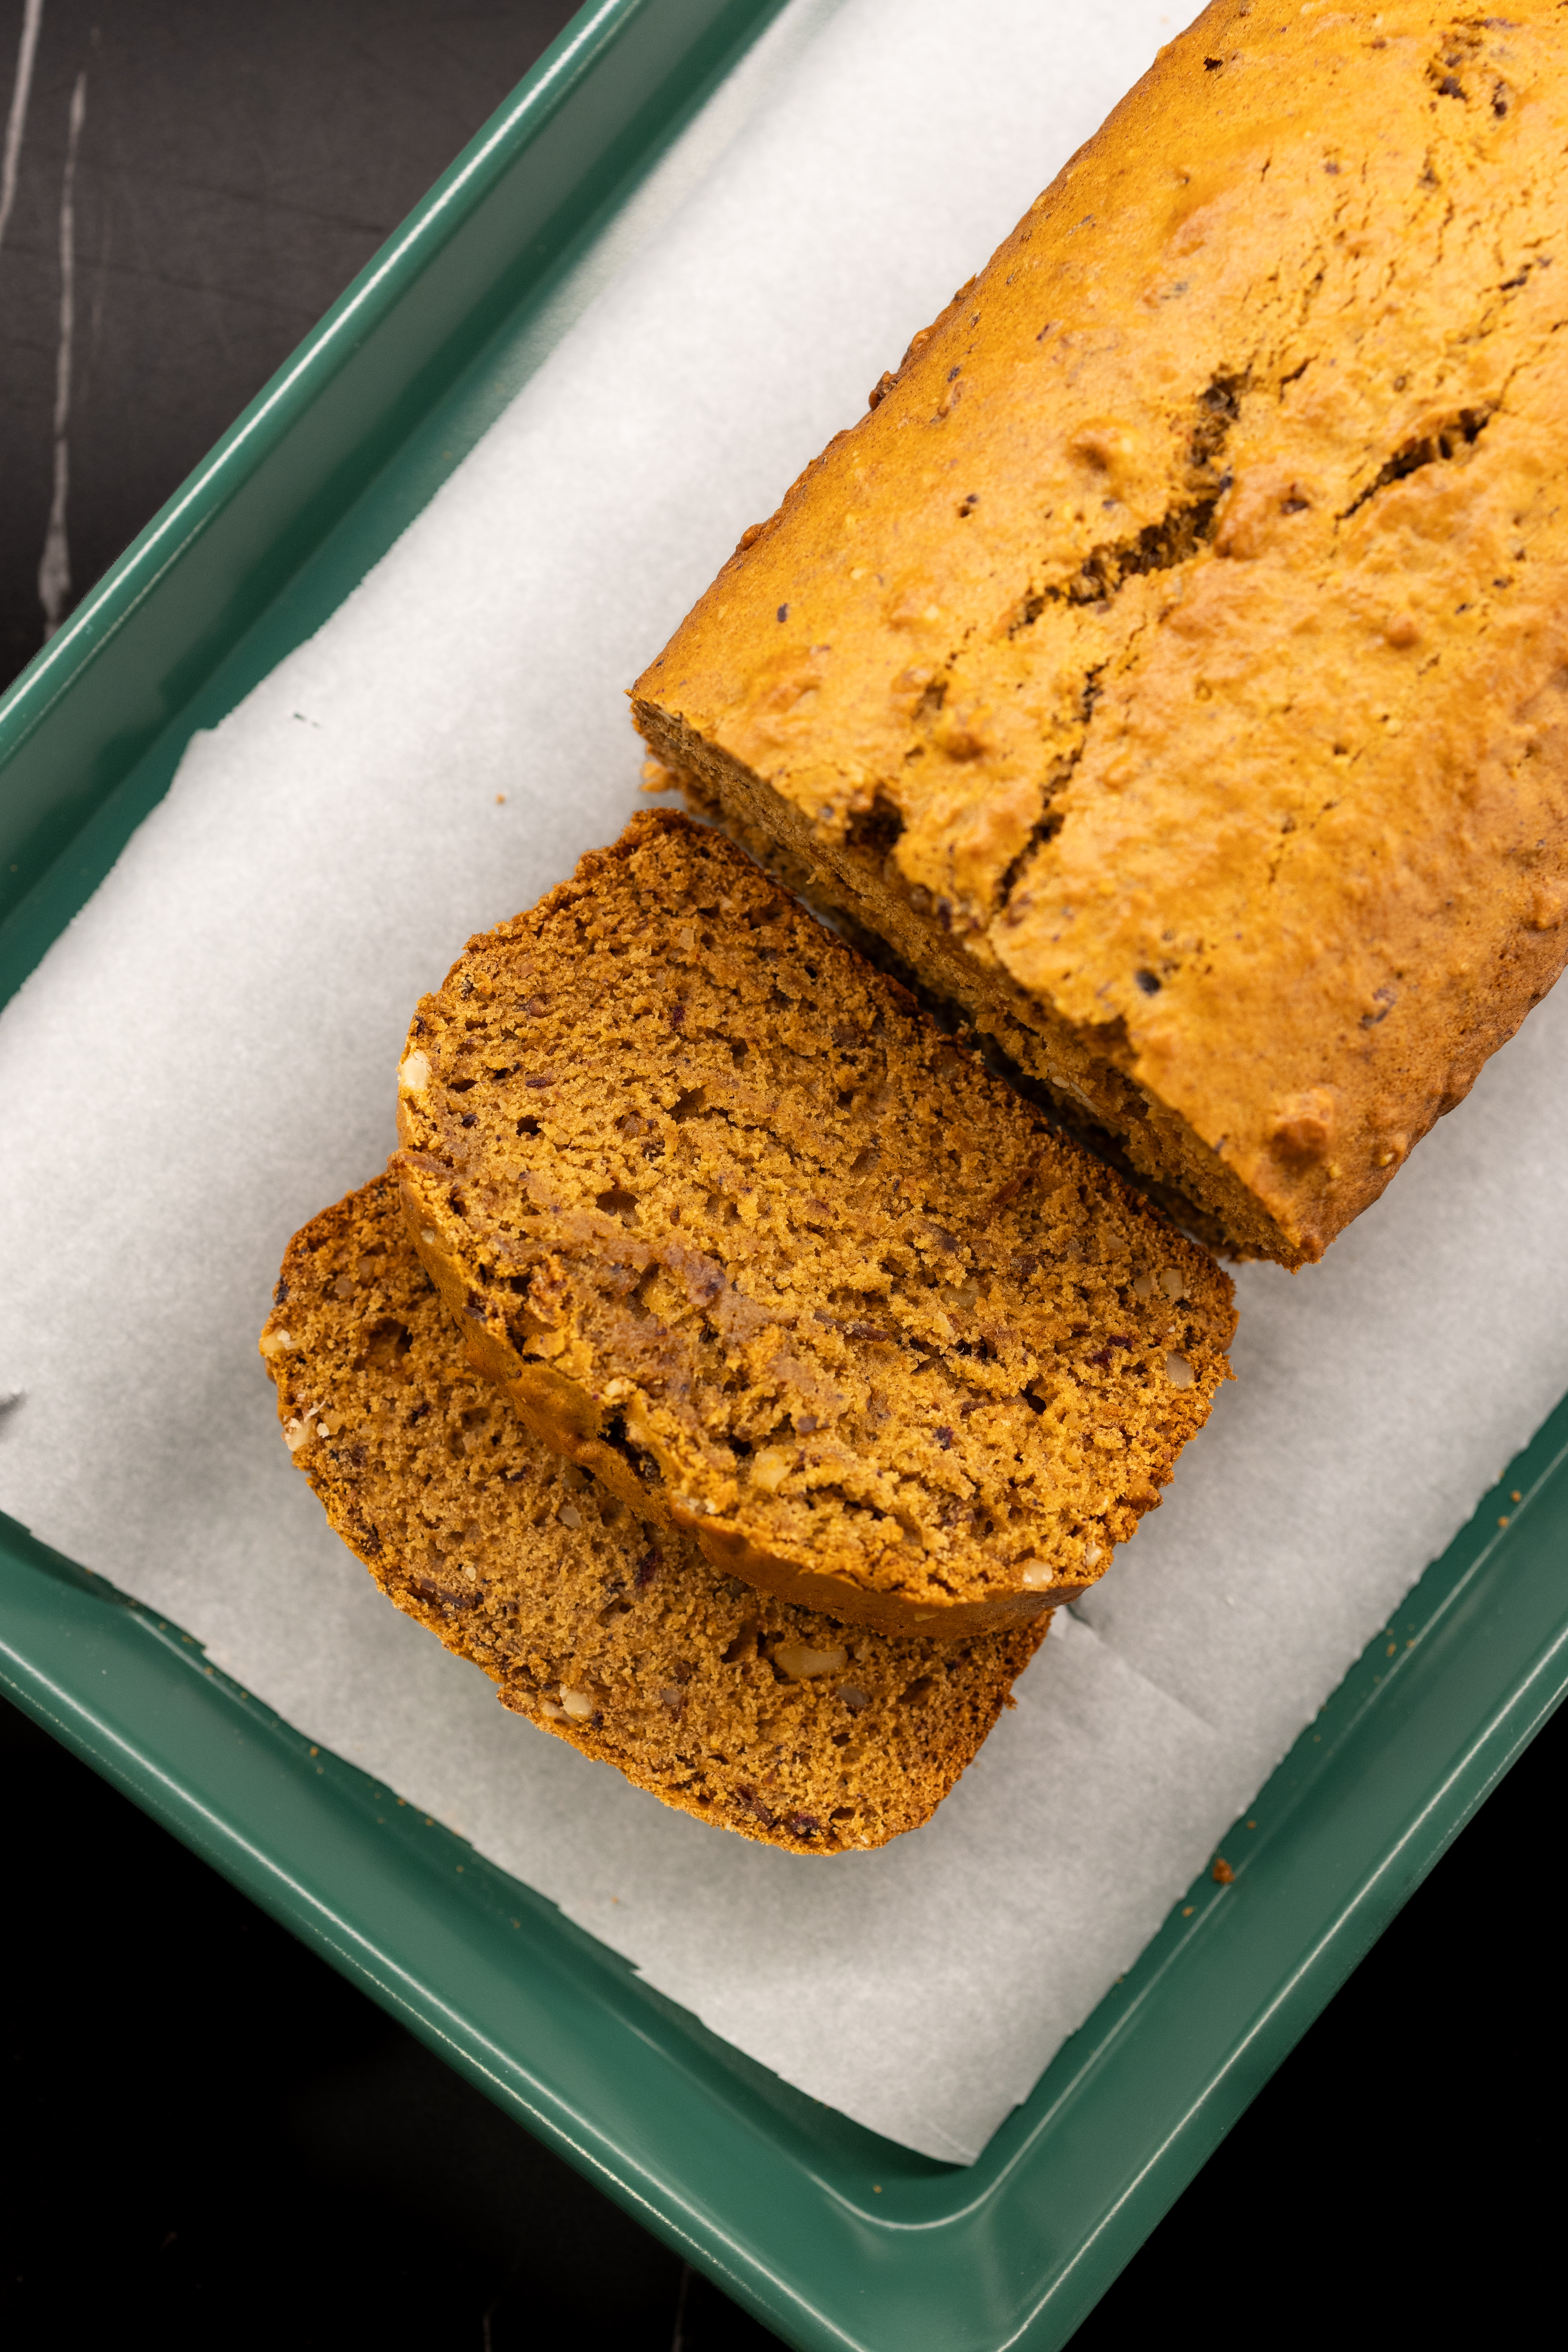
We tested this recipe together with the goal of recreating the flavor and texture as closely as possible. The result is spot-on in taste, slightly lighter in color, and a bit less sticky than the original, which actually makes it easier to slice and eat. It still delivers that nostalgic date-forward flavor, the soft and cohesive crumb, and the unmistakable bakery-style feel that made this bread so special.
This is not a trendy loaf or a modernized version; It’s a true throwback recipe meant to be enjoyed slowly, sliced neatly, and always paired with plain cream cheese. If you have never tried date nut bread this way, this is your sign to start.
If you give this recipe a try, post a pic and tag @colbytroy on Instagram so I can see your beautiful creations!
Table of contents

Perfect Pairings with
Date Nut Bread
Date nut bread is traditionally served as a simple slice with plain cream cheese, and there is a reason this pairing has lasted for decades. The slight tang and richness of the cream cheese balances the natural sweetness of the dates and enhances the dense, moist crumb of the loaf. It turns each slice into something closer to a bakery treat than a standard quick bread.
This bread also pairs beautifully with coffee or tea, especially darker roasts or black tea, which complement the caramelized date flavor without overwhelming it. If you are serving this as part of a brunch spread, it works well alongside fresh fruit and simple scrambled eggs, offering a sweet contrast without feeling like dessert.
Ingredients
- 1 ½ cups chopped dates, 210 grams
- 1 cup boiling water, 240 milliliters
- ¾ cup brown sugar, 150 grams
- 2 tablespoons molasses, 40 grams
- 1 teaspoon baking soda, 5 grams
- 2 cups all-purpose flour, 240 grams
- 1 teaspoon baking powder, 5 grams
- ½ teaspoon salt, 3 grams
- 2 tablespoons neutral oil, 30 milliliters
- 1 large egg
- 1 teaspoon vanilla extract, 5 milliliters
- ½ cup walnuts, very finely chopped, 60 grams

Nutritional Benefits
Dates provide natural sweetness, fiber, and minerals like potassium and magnesium. They are the backbone of this recipe and should not be substituted if you want the classic flavor. Medjool dates will give a richer taste, while Deglet Noor dates create a slightly lighter result. Either works well as long as they are softened properly.
Brown sugar adds moisture and depth while supporting the caramel flavor of the dates. Light or dark brown sugar can be used, but dark brown sugar will result in a slightly deeper flavor and darker loaf.
Molasses deepens the color and gives the bread its signature richness. If you prefer a lighter loaf, you can reduce the molasses slightly, but removing it entirely will noticeably change the flavor.
All-purpose flour creates the tight crumb associated with traditional date nut bread. A gluten-free one-to-one baking flour can be substituted if needed, but the texture may be slightly more delicate.
Neutral oil keeps the bread moist without making it cake-like. Butter can be substituted in the same amount, melted and cooled, but oil produces a closer match to the original bakery texture.
Walnuts add subtle texture and flavor without overpowering the loaf. They should be chopped very finely so they blend into the crumb rather than standing out. Pecans can be used if walnuts are unavailable, but the flavor will be slightly sweeter.

Step By Step Instructions
Follow these step-by-step instructions, then scroll down to the recipe card for a full ingredients list and method
How to Make Date Nut Bread
Begin by preheating your oven to 350 degrees Fahrenheit and preparing a standard 9 by 5 inch loaf pan. Grease the pan lightly and line it with parchment paper, allowing some overhang so the loaf can be lifted out easily after baking.
Place the chopped dates into a medium saucepan along with the brown sugar, molasses, and boiling water. Set the pan over medium heat and bring the mixture to a gentle simmer. Stir occasionally and allow the dates to soften for about three to four minutes. Remove the pan from the heat and carefully stir in the baking soda. The mixture will foam slightly, which is expected and helps break down the dates.


Allow the date mixture to cool for about fifteen minutes. Once cooled slightly, use an immersion blender or a standard blender to blend the mixture briefly until it becomes mostly smooth with very small flecks of date remaining. Avoid over-blending, as you want a thick paste rather than a thin puree.
In a separate bowl, whisk together the flour, baking powder, and salt until evenly combined. In another bowl, whisk the egg, oil, and vanilla until smooth. Add the cooled date mixture to the wet ingredients and stir until fully incorporated.


Gradually fold the dry ingredients into the wet mixture, stirring gently just until no dry flour remains. Overmixing can make the loaf tough. Fold in the finely chopped walnuts, ensuring they are evenly distributed throughout the batter.

Transfer the batter to the prepared loaf pan and smooth the top with a spatula. Bake for 55 to 65 minutes, or until the center of the loaf feels set and springs back lightly when pressed. Allow the bread to cool completely in the pan before slicing to ensure clean, even slices. Serve with cream cheese at room temperature.

Troubleshooting Tips for Beginners
The loaf is too light in color. This can happen if the molasses is reduced or omitted. Using dark brown sugar and full molasses will deepen the color.
The bread feels dry. This usually means it was overbaked. Check for doneness closer to the 55-minute mark and remove once the center is just set.
The texture is too crumbly. This can happen if the date mixture was not blended enough or if the bread was sliced before fully cooling.
Large chunks of dates are visible. The date mixture likely needed a few more seconds of blending to create a smoother paste.
The loaf sinks in the middle. This can be caused by underbaking or opening the oven door too early in the baking process.
The nuts feel too noticeable. Chop them more finely or pulse briefly in a food processor to create a more uniform crumb.
Storage Instructions
Room Temperature Storage
Once fully cooled, the bread can be wrapped tightly and stored at room temperature for up to two days. This is ideal if you plan to serve it within a short time frame.
Refrigeration
For longer storage, wrap the loaf tightly and refrigerate for up to five days. Bring slices to room temperature before serving for the best texture and flavor.
Freezing
The loaf can be frozen whole or sliced. Wrap tightly in plastic wrap and then in foil before freezing for up to two months. Thaw overnight in the refrigerator or at room temperature before serving.

Tools You’ll Need to Make
Pear, Brie, and Prosciutto Puff Pastry Tart
- Medium Saucepan
- Blender/Food Processor
- Mixing Bowls
- Whisk
- Spatula
- Loaf Pan
- Parchment Paper
More Recipes to Try
- Savory Apple Butter and Brie Puff Pastry Tart
- Banana Crumb Cake Bars
- Mascarpone Stuffed Dates With Maple Pecans
- Mini Pumpkin Loaves with Toasted Marshmallow Frosting
- Brown Butter Cinnamon Streusel Loaf

Neuman’s-Inspired Date Nut Bread with Cream Cheese
Equipment
- Blender/Food Processor
Ingredients
- 1 1/2 cups chopped medjool dates pitted
- 1 cup boiling water
- 3/4 cup brown sugar packed
- 2 tbsp molasses
- 1 tsp baking soda
- 2 cups all-purpose flour
- 1 tsp baking powder
- 1/2 tsp salt
- 2 tbsp neutral oil (I prefer avocado oil)
- 1 egg large
- 1 tsp vanilla extract
- 1/2 cup walnuts very finely chopped
Instructions
- Preheat the oven to 350 degrees Fahrenheit. Lightly grease a 9 by 5 inch loaf pan. Line the pan with parchment paper so the paper hangs over the long sides, which will make it easy to lift the loaf out after baking.
- Make the date base by adding the chopped dates, brown sugar, molasses, and boiling water to a medium saucepan. Place the pan over medium heat and stir as it warms. Once it reaches a gentle simmer, continue cooking for 3 to 4 minutes, stirring occasionally, until the dates are very soft and the mixture looks thick and syrupy.
- Remove the saucepan from the heat and carefully stir in the baking soda. The mixture will foam and bubble up a bit, which is normal. Let the mixture sit and cool for about 15 minutes so it is no longer steaming hot.
- Blend the date mixture until mostly smooth. Use an immersion blender directly in the pot, or carefully transfer the mixture to a blender. Blend briefly, just until it becomes a thick, mostly smooth paste with tiny flecks left behind. Do not blend for too long because you want a paste, not a thin liquid.
- In a medium bowl, whisk the flour, baking powder, and salt until evenly combined. This helps the bread rise evenly and prevents pockets of baking powder or salt in the loaf.
- In a separate large bowl, whisk the egg, neutral oil, and vanilla extract until smooth. Add the cooled date paste and whisk again until the mixture looks uniform and glossy.
- Add the dry ingredients to the wet ingredients. Use a rubber spatula to fold the batter together gently, scraping the bottom and sides of the bowl as you go, until you no longer see dry flour. Stop mixing as soon as everything is combined because overmixing can make the bread tough.
- Fold in the finely chopped walnuts until they are evenly distributed. The walnuts should be small pieces so they blend into the crumb rather than creating large chunks.
- Transfer the batter to the prepared loaf pan. Use a spatula to smooth the top into an even layer. Tap the loaf pan lightly on the counter once or twice to help settle the batter and remove any large air pockets.
- Bake for 55 to 65 minutes. The bread is done when the top looks set and the center springs back lightly when you press it gently. If the top starts to look too dark before the center is done, loosely tent the pan with foil for the remaining bake time.
- Cool the loaf completely before slicing. Let it cool in the pan for about 20 minutes, then use the parchment paper to lift it out and place it on a wire rack to finish cooling. Slicing too soon can cause the bread to crumble or feel gummy.
- Slice and serve the classic way by spreading plain cream cheese on each slice. For the most nostalgic texture, slice the bread once it has fully cooled and serve it at room temperature.
Notes
Nutrition
When my mom and I started talking about making this bread, it brought back very specific memories for both of us. She used to buy the whole loaf from the grocery store, and slicing into it felt like a small treat we shared together. It always felt like something special rather than just another loaf of bread. It was sliced on purpose, spread with plain cream cheese, and enjoyed slowly. Making it together now felt like bringing back something that quietly disappeared over time and recreating that familiar moment in our own kitchen.


Leave a Comment